Showing posts with label DIYs That Actually Work. Show all posts

Saturday, February 1, 2014

Yay for half birthdays!

I came across the idea for a half birthday - you know, 6 months before your actual birthday - and thought it was a pretty great idea. The child gets half of a cake (to share with the family, of course!), no presents (or maybe a small one in this household), and a special dinner. I think it's a great out-of-the-blue idea that will make your child's day. And what an adorable memory to look back and remember! So when Gunner turned 6 months in January, I started the tradition.

We threw a BBQ for friends and family - we really wanted to take a minute and sit back and relax with friends. The years seem to go by quicker as we get older, and we often don't see each other as much as we'd like. It was great to have everyone together, and for them to interact with Gunner. He's growing up so fast!!

Here's pics from the party. We had a really great time!


The overview. The left corner is a photobooth backdrop made from plastic tablecloths from the dollar store! I trimmed the bottoms and used the rest on the chandelier, just to spice it up a bit!


Up-close on the photobooth.


My goofball husband and nephew posing for me.


I made the "Happy Half" banner. It was simple - construction paper, permanent marker, paper straws, hot glue and colored twine. Pirate and chest cake topper from here, twine from here, and cake from Publix.


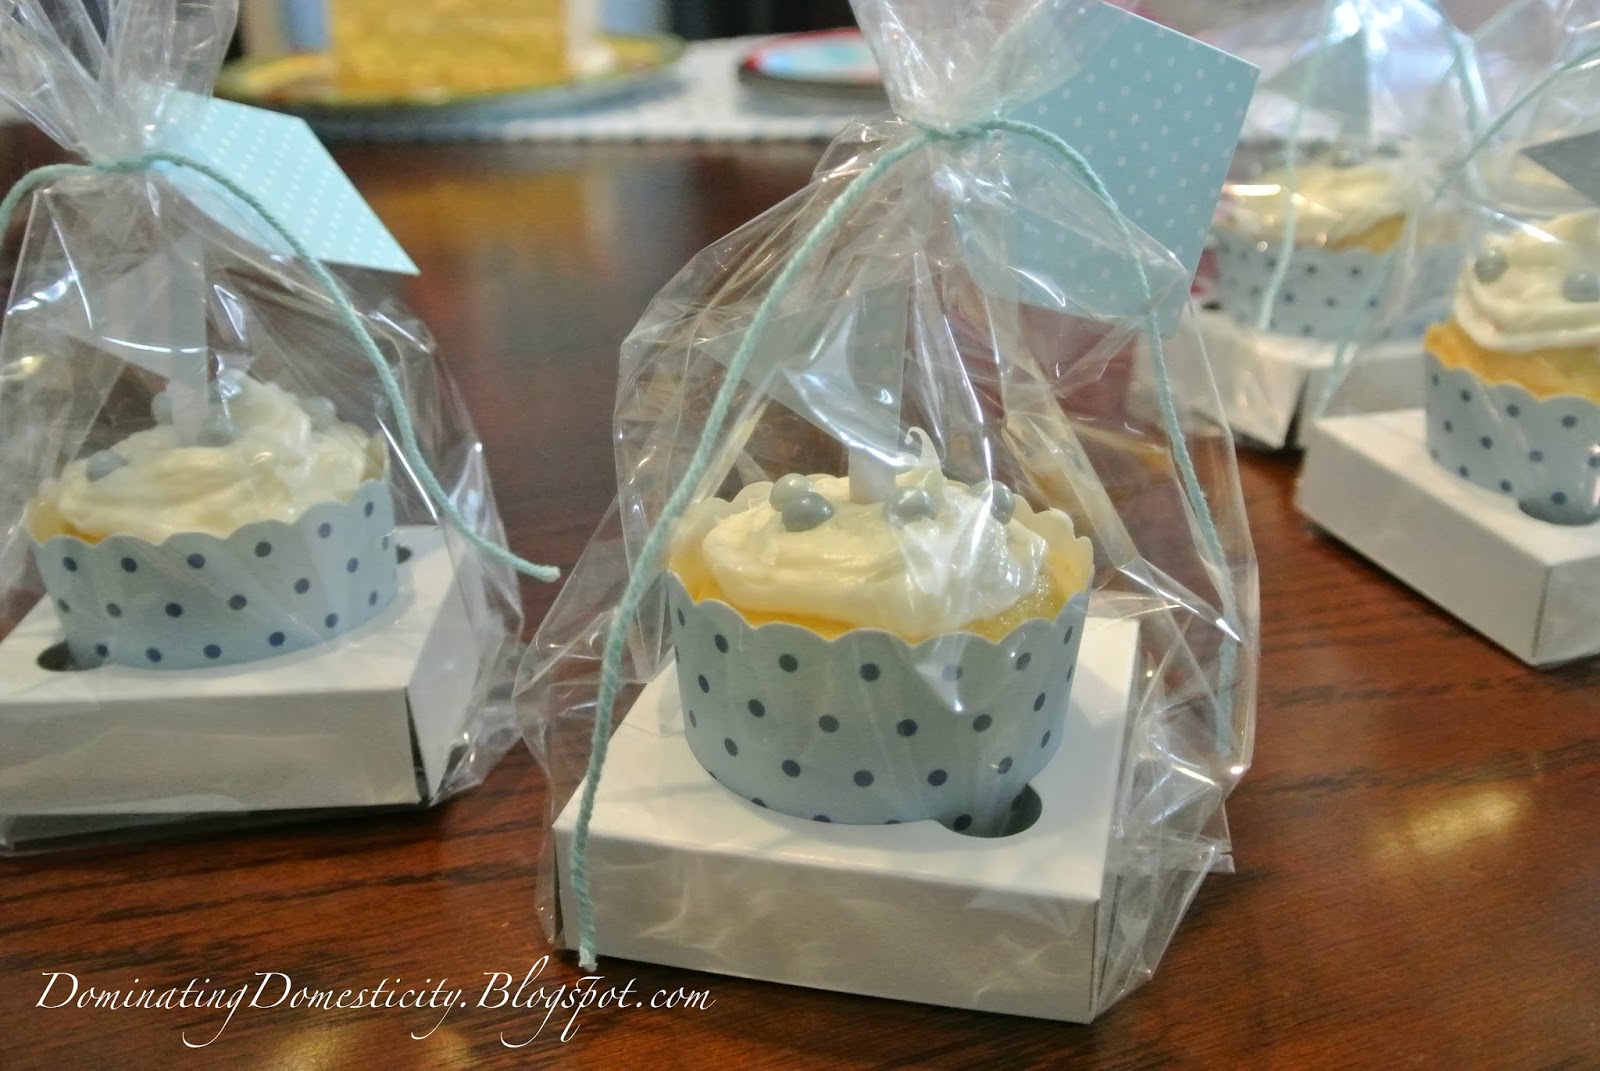
I made these and I must say - I am proud of them! I found everything I used in a single kit called "The Classroom Kit" at Tj Maxx for like $6 on clearance! I googled the company and apparently it's Australian-based and costs $40 to ship to the United States. I have to say that I SCORED!


I affixed a bandana from Target to his high chair.


And provided some stick-on mustaches and bandanas for photobooth props. I also placed a photo of him in his "1/2" onesie for everyone to sign. I think it'll be awesome in years to come when he looks back on the photo and sees just how long the people who love him have been in his life! The onesie was a custom order from here.


So simple and budget-friendly - streamers from the dollar store cut into slices and affixed to the wall with mustache duct tape, because it's adorable.


The 1/2 birthday boy himself.


Destruction.


Mmmm cake.


The very next day I used the red plastic tablecloth for the backdrop of his Valentine's photos! XOXO!


~Meg

Tuesday, December 24, 2013

Fake Snow Background for Photos

I'm going to warn you - this craft took two hours and I poked myself with the needle countless times, but it came out great in the photos! Here's the end result:


My inspiration came from this photo I found on Pinterest. Instead of using cotton balls, I used mini styrofoam glitter balls I found at Hobby Lobby for 50% off! 

I purchased one package of the glitter balls and simply strung them on white thread using a needle. I cut the thread into 4-feet length strands and tied one end of each strand onto a wire hanger to keep the strands from tangling. I hung the hanger against a white sheet decorated with white Christmas lights. The Christmas lights and glitter on the mini styrofoam balls made the pictures nice and glittery! It was a cheap addition to Gunner's first Christmas photos, taken by Baby Face Portraits.


Monday, December 16, 2013

Endless Dryer Sheets

Although I don't think that dryer sheets are all that expensive, this idea intrigued me. This blogger made endless dryer sheets using a Ziploc container, water, fabric softener and sponges. I just happened to have recently purchased Seventh Generation's blue eucalyptus and lavender fabric softener (my favorite) on BOGO at target so I had some extra fabric softener laying around.

So I tried out this endless fabric softener idea. Honestly, my clothes were softer and the scent was stronger than using the dryer sheets. I was quite happy with the results. I don't know if this is recommended for all dryers, so please consult your manual before attempting (yea, right, I bet all of you are going to do that before trying this...). Anyway, check out the quick and easy instructions here.