Showing posts with label Arts and Craftsy. Show all posts

Saturday, February 1, 2014

Yay for half birthdays!

I came across the idea for a half birthday - you know, 6 months before your actual birthday - and thought it was a pretty great idea. The child gets half of a cake (to share with the family, of course!), no presents (or maybe a small one in this household), and a special dinner. I think it's a great out-of-the-blue idea that will make your child's day. And what an adorable memory to look back and remember! So when Gunner turned 6 months in January, I started the tradition.

We threw a BBQ for friends and family - we really wanted to take a minute and sit back and relax with friends. The years seem to go by quicker as we get older, and we often don't see each other as much as we'd like. It was great to have everyone together, and for them to interact with Gunner. He's growing up so fast!!

Here's pics from the party. We had a really great time!


The overview. The left corner is a photobooth backdrop made from plastic tablecloths from the dollar store! I trimmed the bottoms and used the rest on the chandelier, just to spice it up a bit!


Up-close on the photobooth.


My goofball husband and nephew posing for me.


I made the "Happy Half" banner. It was simple - construction paper, permanent marker, paper straws, hot glue and colored twine. Pirate and chest cake topper from here, twine from here, and cake from Publix.


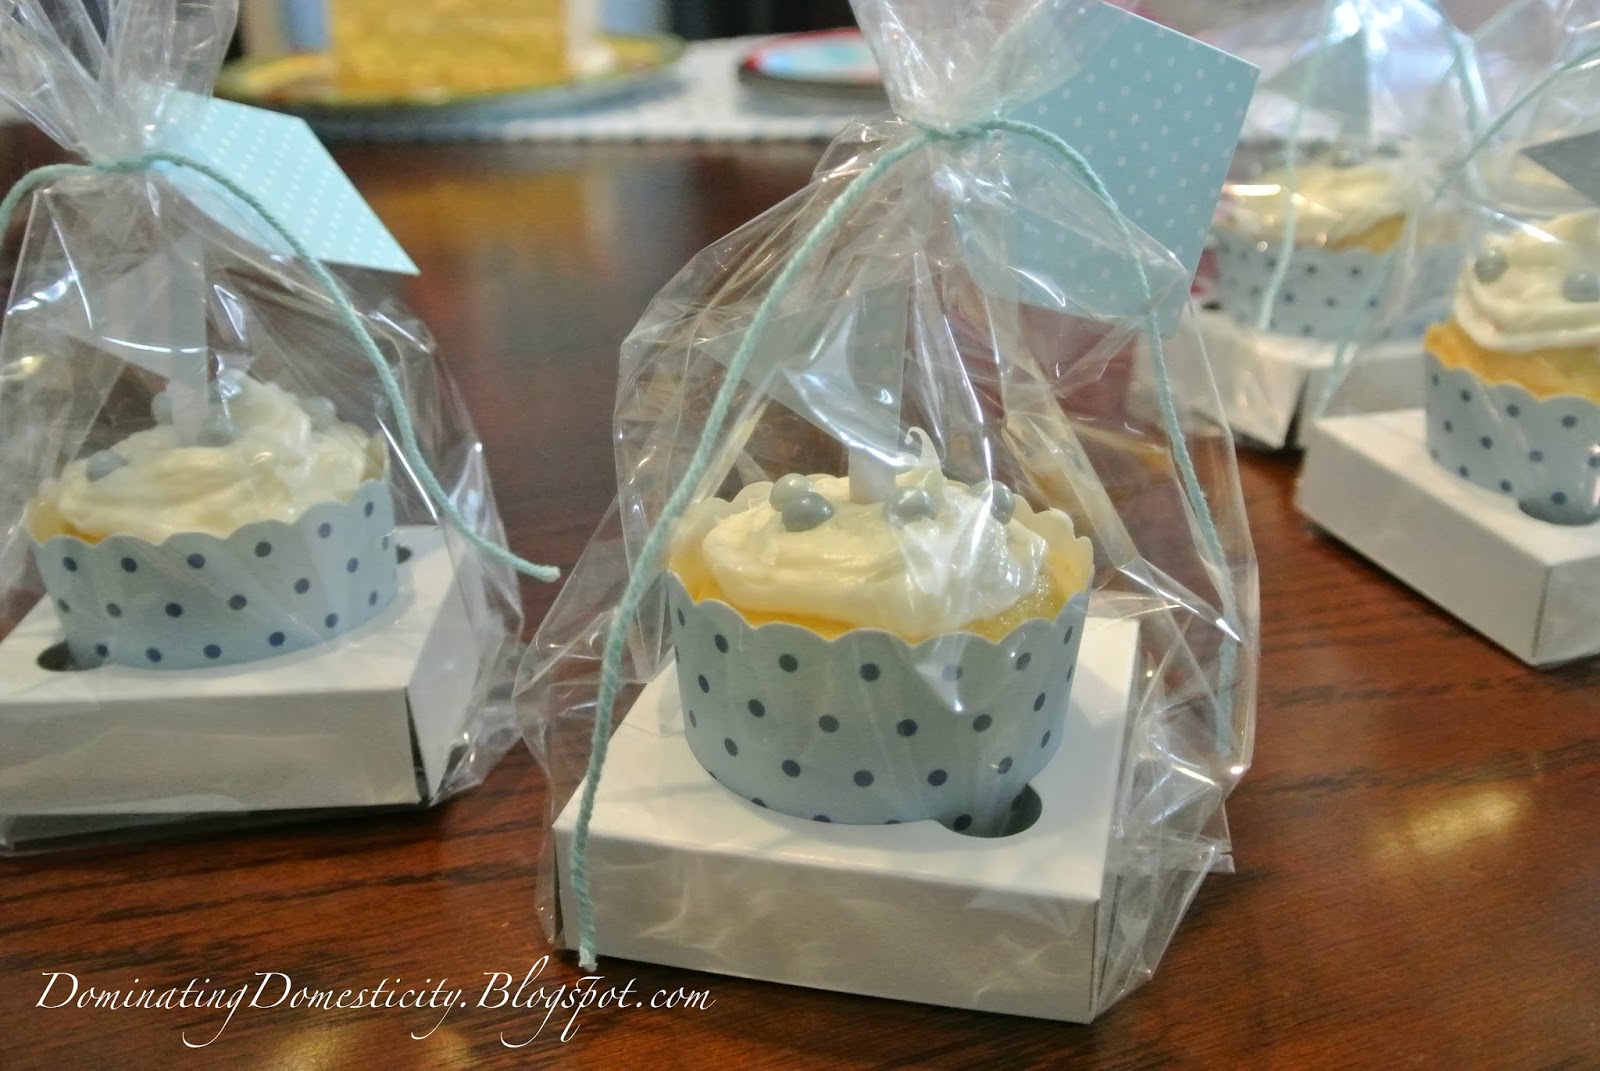
I made these and I must say - I am proud of them! I found everything I used in a single kit called "The Classroom Kit" at Tj Maxx for like $6 on clearance! I googled the company and apparently it's Australian-based and costs $40 to ship to the United States. I have to say that I SCORED!


I affixed a bandana from Target to his high chair.


And provided some stick-on mustaches and bandanas for photobooth props. I also placed a photo of him in his "1/2" onesie for everyone to sign. I think it'll be awesome in years to come when he looks back on the photo and sees just how long the people who love him have been in his life! The onesie was a custom order from here.


So simple and budget-friendly - streamers from the dollar store cut into slices and affixed to the wall with mustache duct tape, because it's adorable.


The 1/2 birthday boy himself.


Destruction.


Mmmm cake.


The very next day I used the red plastic tablecloth for the backdrop of his Valentine's photos! XOXO!


~Meg

Tuesday, December 24, 2013

Fake Snow Background for Photos

I'm going to warn you - this craft took two hours and I poked myself with the needle countless times, but it came out great in the photos! Here's the end result:


My inspiration came from this photo I found on Pinterest. Instead of using cotton balls, I used mini styrofoam glitter balls I found at Hobby Lobby for 50% off! 

I purchased one package of the glitter balls and simply strung them on white thread using a needle. I cut the thread into 4-feet length strands and tied one end of each strand onto a wire hanger to keep the strands from tangling. I hung the hanger against a white sheet decorated with white Christmas lights. The Christmas lights and glitter on the mini styrofoam balls made the pictures nice and glittery! It was a cheap addition to Gunner's first Christmas photos, taken by Baby Face Portraits.


Monday, December 16, 2013

DIY Photo Backdrop

Looking for a cheap and easy backdrop for taking pictures of milestones, or possibly to use in an attempt to take your own holiday photos? Well look no further because this is cheap, easy, adorable and can be made to tailor any event.

With the birth of my first son in July, I made it a goal of mine to capture his monthly growth during his first year of life since that's when they grow so tremendously in such a short amount of time. I figured my husband wouldn't be too keen on me hiring a photographer every month, and it gave me the perfect opportunity to use my new Nikon camera the hubs got me for my baby shower (he's such a doll!). Anyway, here's the finished product and I'll tell you how I made it below.


So, here's what I did. I went to Wal-Mart and purchased a tri-fold poster board (you know, the ones we used for our science projects in middle school). Then, I went to Michael's and used my 60% coupon to purchase 3 yards of fabric (which was way too much - you can get away with purchasing two yards, but I crafted with the remaining fabric). I laid the poster board flat and placed the fabric over the board (you may want to iron you fabric beforehand if it needs to be pressed). Then ever so gracefully I flipped the board over with the fabric side down. Apply hot glue around the entire board affixing the fabric onto the board at 4 - 6 inch intervals at a time. Trim the extra fabric and voila. That's it. Let it set a minute and flip it up to view your masterpiece.

I coupled the board with a chalkboard, a letter "G" (for Gunner, my son) I covered in yarn and an elephant, because I love them. Every month I like to list his milestones and his height/weight so it's all documented in one easy place - no scrap booking necessary, unless you're into that kind of thing. The poster board folds up and I store it behind his dresser until the next month. I've been printing the photographs out month-by-month and putting them into his album. Quick, easy, and adorable. Just look at him - he's absolutely scrumptious.

Saturday, December 14, 2013

Bringing Baby Home Craft

This is the easiest and sweetest craft out there!


Here's a breakdown of what you need:
-shadow box (choose a size depending on how many items you have to include)
-baby's "coming home" outfit
-hospital bracelets
-identifying card from hospital
-decorative paper (I found this cute paper at Michael's)

Here's what you do:
-take the back off of the shadow box
-hot glue your decorative paper to the inside of the shadow box
-I then loosely placed his "coming home" outfit and bracelets to see how they would fit
-after I found the perfect placement, I took my glue gun and affixed the items to the decorative paper
-put the back of the shadow box back on and hang!